How to Hang a Gallery Wall
Posted by Bart Watkins on
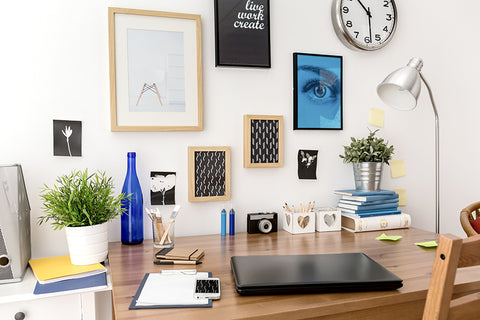
First, decide on a style for your wall. Do you want it to be symmetrical and in a grid, or would you prefer the photos and pictures to be more random? Second, decide what photos and/or paintings you want to include in the gallery wall. Think about their sizes and frames and how they will fit together when determining the style you’d like.
Second, do a first draft of your wall on the floor. Once you have all of the pictures and/or paintings in their frames and ready to go, lay them out on the floor in the shape and order you want them to appear on the wall. Move them around and see which design you like best and make changes to frames, spacing and position at this point.

Once you have your draft ready to go on the floor, make a second draft on the wall using kraft or tissue paper and cut it into the exact sized of all of your frames. Tape them on the wall and measure to ensure that everything is even, straight and spaced appropriately. This is also where you’ll want to make spacing and position changes, because once you start hanging you’ll get unnecessary holes in the wall. After all, making sure a painting or picture is straight and not crooked is a tedious task that’s much easier to accomplish this way.
Now it’s time to hang your pictures and paintings. Make sure you keep your paper on the wall and use the nail to create the hole so you can easily place and hammer the nail when the paper is removed. Once your nails are in, start hanging your pictures and paintings.

Your last step is determining if you need to add lighting to your wall. Depending on where the wall is in relation to windows and lights, it might be a little dark. Picture lights could add great lighting but traditional picture light are bulky and might cluter up your gallery wall. The best type of lighting is from above which provides nice even coverage over the entire area.
Once you have these steps covered, enjoy the new addition to your home!
